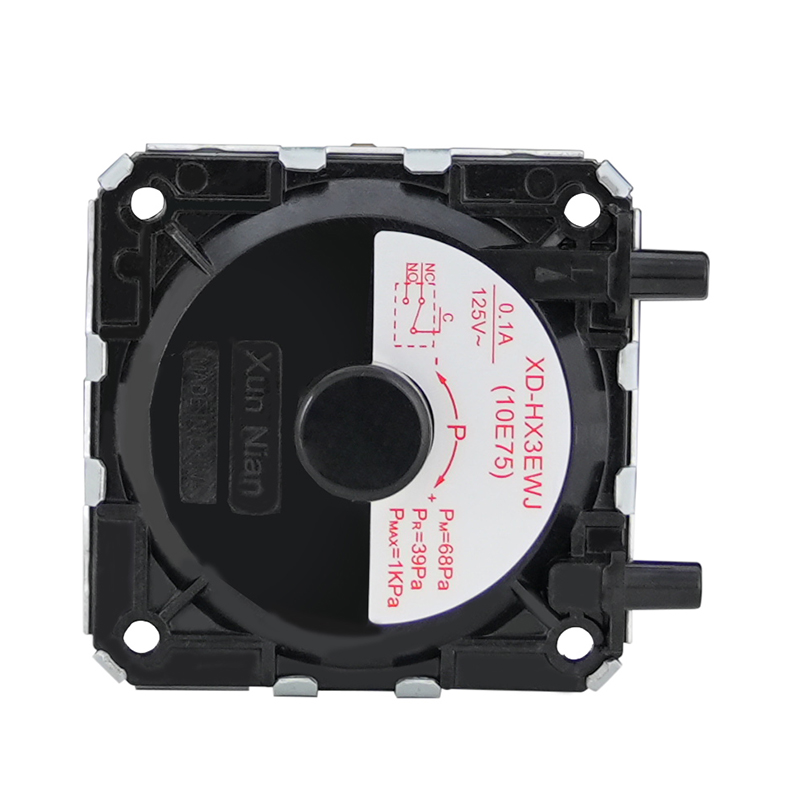
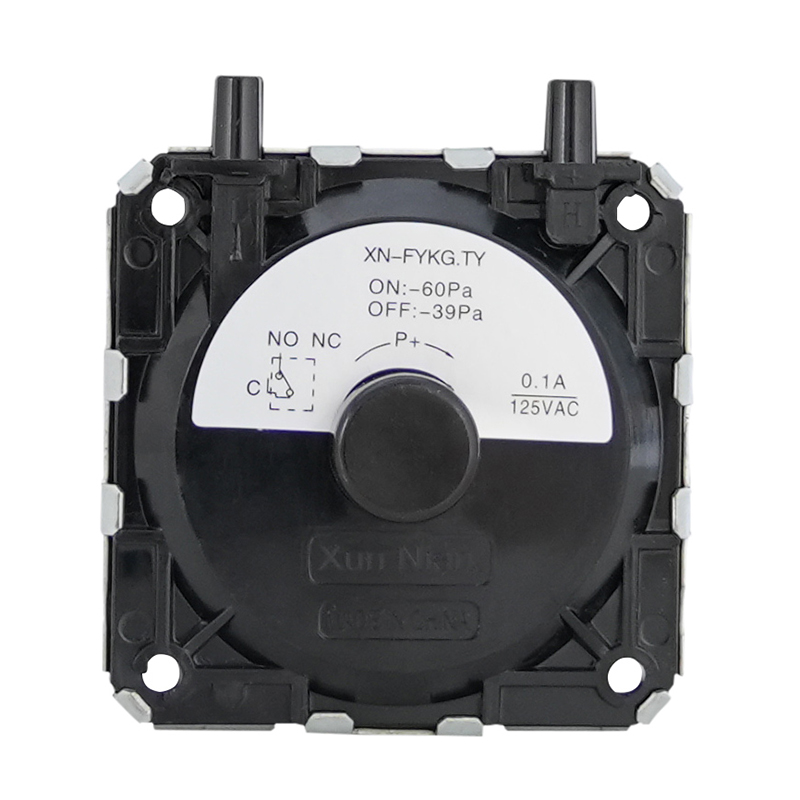
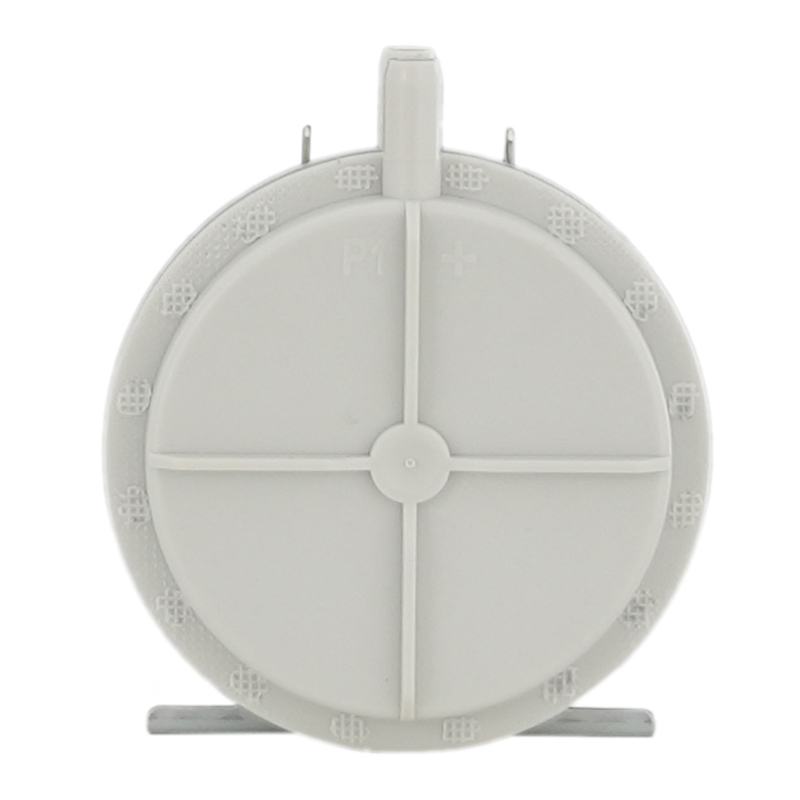
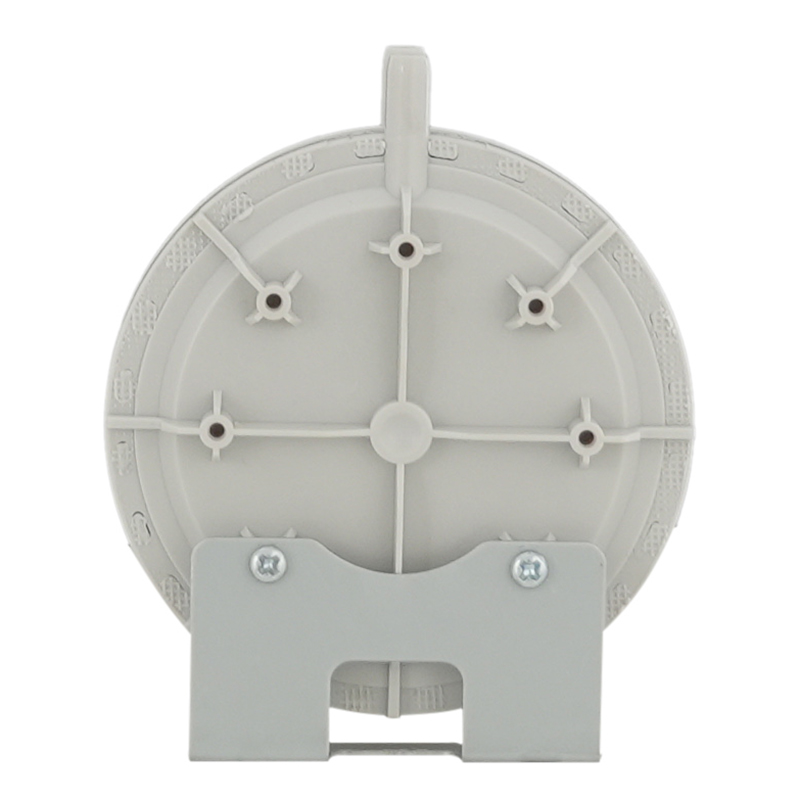
In the operating system of an air compressor, there is a core component that acts like the "throttle" and "brake" of a car—directly determining the equipment’s pressure output, operating efficiency, and safety performance. This component is the pressure switch. Whether it is a large screw compressor in a factory workshop or a small piston compressor in an auto repair shop, improper adjustment of the pressure switch can lead to minor issues such as insufficient air pressure affecting production, or even major safety hazards like equipment overload and pipeline burst. This article, in the form of a "crash course," will guide you from understanding the principles to practical operation, helping you quickly master the adjustment skills of air compressor pressure switches and easily handle this "pressure manager."
I. First, Understand: Why Is the Pressure Switch the "Throttle" and "Brake" of a Compressor?
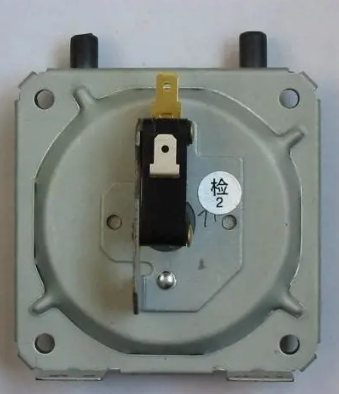
Before learning how to adjust, we first need to understand the core function of the pressure switch. For a car, the "throttle" controls power output, and the "brake" ensures safety during stopping. The pressure switch of an air compressor exactly undertakes these two key functions:
· "Throttle" Function: When the air pressure inside the compressor drops to the preset "minimum start pressure" (commonly referred to as the cut-in pressure), the pressure switch automatically connects the circuit, allowing the motor to drive the compressor to operate and start compressing air. This is like stepping on the throttle to "fuel" the equipment and restore air pressure supply.
· "Brake" Function: When the air pressure rises to the preset "maximum stop pressure" (commonly referred to as the cut-out pressure), the pressure switch cuts off the circuit and stops the compressor. This is similar to stepping on the brake, preventing equipment overload or pipeline burst caused by excessive air pressure.
In simple terms, the pressure switch controls the compressor’s "start-stop" by "sensing air pressure." It not only ensures a stable air pressure supply for the air-consuming end (no pressure shortage) but also prevents equipment damage due to overpressure operation (no overpressure). If we compare the compressor to an "air pump," the pressure switch is the "smart valve" that automatically determines "when to pump air and when to stop."
Practical Steps: 4 Steps to Adjust the Pressure Switch, Even for Beginners
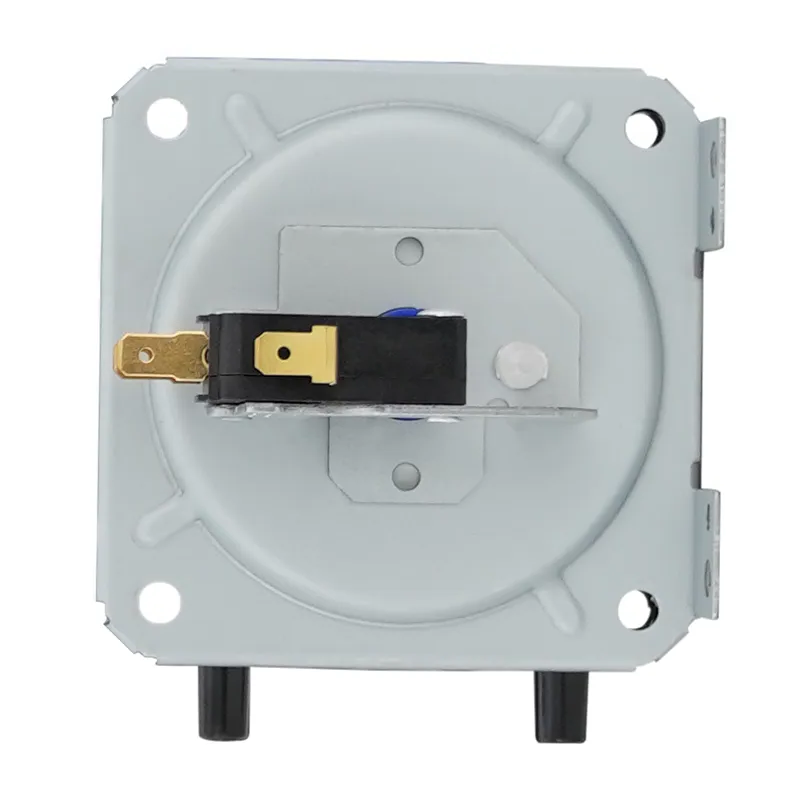
Pressure switches of different brands may have slightly different appearances (e.g., some with transparent covers, some with metal casings), but their adjustment logic is consistent. The following takes the most common dual-screw adjustable pressure switch as an example to guide you through the operation step by step:
Step 1: Locate the "Adjustment Screws" of the Pressure Switch
The pressure switch is usually installed on the top or side of the compressor’s air tank, connected to the pressure gauge and motor circuit. Open the protective cover of the pressure switch (if equipped), and you will see two distinct adjustment screws:
· Cut-out Pressure Adjustment Screw: Usually marked with "Pressure" or "Cut-out," it is responsible for adjusting the compressor’s "stop pressure" (i.e., the cut-out pressure).
· Differential Pressure Adjustment Screw: Usually marked with "Differential" or "Cut-in," it adjusts the "difference between cut-out pressure and cut-in pressure." When the cut-out pressure is fixed, increasing the differential pressure (by turning the screw clockwise) will lower the cut-in pressure; decreasing the differential pressure (by turning counterclockwise) will raise the cut-in pressure.
Step 2: Adjust the "Cut-out Pressure" to Set the Compressor’s "Stop Point"
Suppose we need to adjust the cut-out pressure from 0.7MPa to 0.8MPa. The operation is as follows:
1. Use a screwdriver to slowly turn the "cut-out pressure adjustment screw" clockwise, while observing the pressure gauge. (At this point, you need to briefly turn on the power to let the compressor run and monitor the air pressure rise—important note: cut off the power after each adjustment to avoid overpressure.)
1. For every 1/4 turn of the screw, turn on the power and let the compressor run for 10-20 seconds to observe the air pressure rise rate: turning clockwise increases the cut-out pressure (the "brake point" moves backward); turning counterclockwise decreases the cut-out pressure (the "brake point" moves forward).
1. When the air pressure rises to 0.8MPa, the pressure switch should automatically cut off the power. If it does not cut off, continue fine-tuning clockwise; if it cuts off early, fine-tune counterclockwise until the preset value is reached.
Step 3: Adjust the "Differential Pressure" to Set the Compressor’s "Start Point"
After confirming the cut-out pressure, we need to adjust the differential pressure to set the cut-in pressure. For example, if the cut-out pressure is 0.8MPa and we want the cut-in pressure to be 0.5MPa (differential pressure of 0.3MPa), the operation is as follows:
1. Keep the cut-out pressure adjustment screw stationary, and use a screwdriver to turn the "differential pressure adjustment screw": turning clockwise increases the differential pressure (lowering the cut-in pressure—e.g., if the original differential pressure is 0.2MPa, turning 1/2 turn clockwise may increase it to 0.3MPa); turning counterclockwise decreases the differential pressure (raising the cut-in pressure).
1. After adjustment, turn on the power and let the compressor run until it stops at the cut-out pressure (0.8MPa). Then open the exhaust valve to release air pressure—observe the pressure gauge: when the air pressure drops to 0.5MPa, the pressure switch should automatically connect the power and restart the compressor.
1. If the compressor restarts when the pressure is higher than 0.5MPa (e.g., 0.6MPa), it means the differential pressure is too small—turn clockwise to increase it. If it restarts when the pressure is lower than 0.5MPa (e.g., 0.4MPa), the differential pressure is too large—turn counterclockwise to decrease it.
Step 4: Test Repeatedly to Confirm the Adjustment Effect
After adjustment, perform 3-5 "start-stop cycle" tests to ensure the pressure switch operates accurately:
1. Turn on the power and let the compressor run; check if it stops promptly when the air pressure rises to the cut-out pressure.
1. Open the exhaust valve to release air; check if the compressor restarts promptly when the air pressure drops to the cut-in pressure.
1. During the test, listen for the "click" sound of the pressure switch—there should be a clear sound when starting or stopping. If the sound is faint or there is no action, it may be due to improper adjustment or aging internal components of the pressure switch; recheck is required.


